=================================================================
LABORATORY 1
FAMILIARIZATION WITH VIRTUAL BOX MANAGER
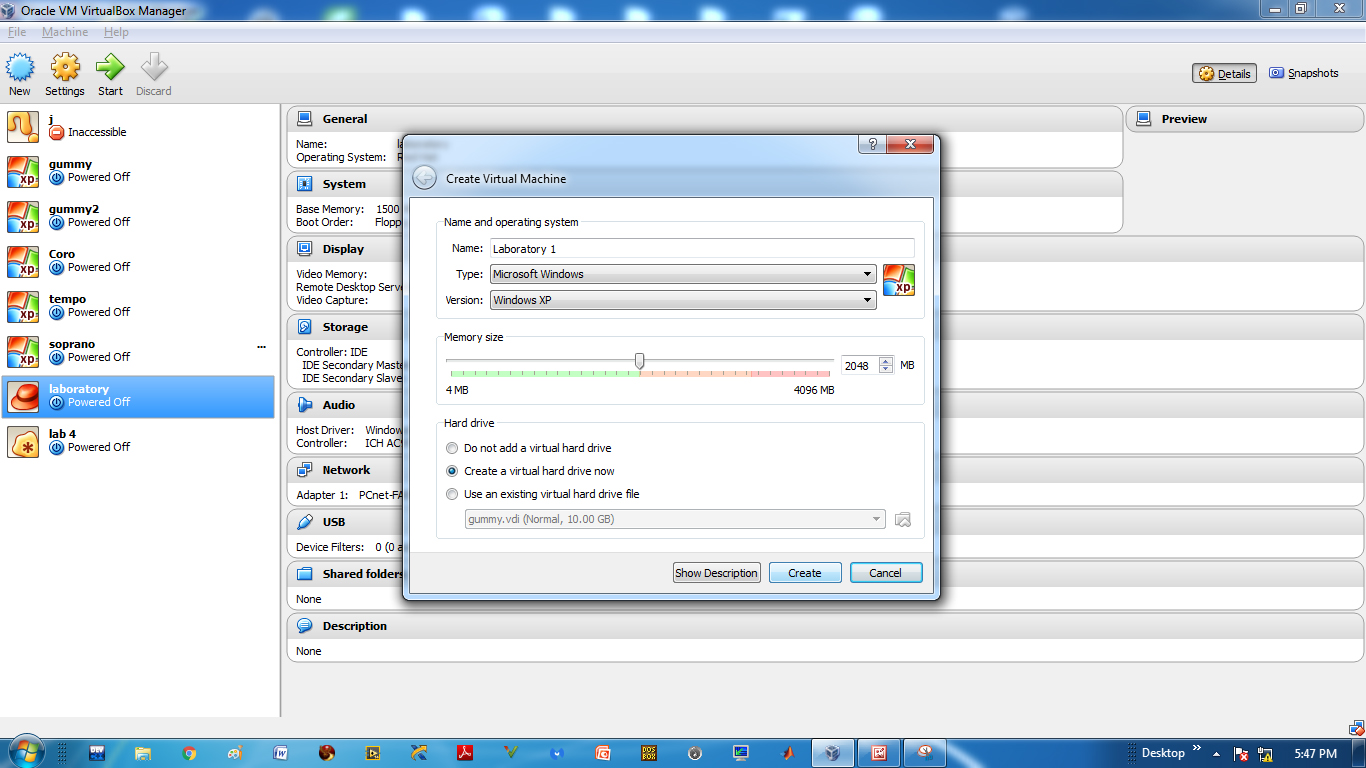
Oracle Virtual Box Manager is software that introduces the essence of Desktop Virtualization. It gives ability to install and run multiple Operating Systems on your computer in virtual environment without disturbing the host OS. It is very useful software to those students who are currently studying Virtualization. It is not so complicated to use and navigate. With the help of this tool, we can easily study different Operating System with a less risk, less setup and less worries about the internal system of the computer or host. At first use, the environment is a little bit confusing if you are not familiar with some computer's terminologies. That will be just for the first use because when you became familiar with it, it will be now easier to explore other stuffs inside the software. There is also a snapshot feature which helps to restore the virtual machine back and forth to a specific time or date. It also has a lot of built-in commands that can help manage the virtual machine.
Virtualization allows users to run multiple different types of Operating Systems simultaneously in complete isolated virtual environment on single physical computer. The implementation of it which is the virtual machine is very helpful software that will allow users to test and experience different OS without interrupting any internal systems and without restarting the single computer. It is a completely isolated virtual environment so there will be no risk involved in virus, malware or any kind of threat spreading from guest to host machine. You can also run the old legacy applications and OS on the latest computer. Virtual Machine can offer an instruction set architecture that differs from real computers. It is very easy to maintain and has a convenient recovery. However, it is not that efficient compare to real one when accessing hardware.
LABORATORY 2
FAMILIARIZATION WITH LINUX
 In this activity, The Linux
Distro that we used is KahelOS. According to resources, KahelOS is based on Arch Linux and the first and remains to be the only Filipino Linux Distro. It is a complete open source-based desktop
solution for office and school use. It is a package that includes an operating system, a word processor, spreadsheet program, presentation software, email facility, an internet browser and a
graphics editor. KahelOS has already GNOME applications for office, Multi-media, and web browsing. At first glance about Linux, it is a little bit complicated due to the fact that users of it are
very rare. Still, it has the same features with the other OS that most people used to be. It is also observed that after the installation of the OS, there's already installed essential software
that can open the different files. It's not just the plain OS that was installed, but also software that usually needs by users such as Libre Offices, Adobe Flash Player, Autocad Editor, Graphics
Designing and many more to mention. KahelOS is quite simple operating system. It is not so complicate like how other thinks. However there is little technical difficulty in installing the software.
If you are not familiar with technical terms, it's not that easy to install it. Also, there are some hardware devices that are not supported by Linux. Since it does not dominate the market, it is
difficult to find applications to support the needs.
In this activity, The Linux
Distro that we used is KahelOS. According to resources, KahelOS is based on Arch Linux and the first and remains to be the only Filipino Linux Distro. It is a complete open source-based desktop
solution for office and school use. It is a package that includes an operating system, a word processor, spreadsheet program, presentation software, email facility, an internet browser and a
graphics editor. KahelOS has already GNOME applications for office, Multi-media, and web browsing. At first glance about Linux, it is a little bit complicated due to the fact that users of it are
very rare. Still, it has the same features with the other OS that most people used to be. It is also observed that after the installation of the OS, there's already installed essential software
that can open the different files. It's not just the plain OS that was installed, but also software that usually needs by users such as Libre Offices, Adobe Flash Player, Autocad Editor, Graphics
Designing and many more to mention. KahelOS is quite simple operating system. It is not so complicate like how other thinks. However there is little technical difficulty in installing the software.
If you are not familiar with technical terms, it's not that easy to install it. Also, there are some hardware devices that are not supported by Linux. Since it does not dominate the market, it is
difficult to find applications to support the needs.
Linux- KahelOS is good operating system that may be used by common users. It is not a complicated desktop OS; its desktop environment itself can guide users to easily navigate the system. Linux KahelOS is an ideal OS to those users who are looking for a ready to use program after the installation of the operating system. It is totally a complete free package with no need to think about legal licenses or documents. It is not just an Operating system so to speak. It is not just a technology product on a Linux and Open Source Platform added to the thousands of free distros already available in the community. It is also a gift and a manifestation of the collaborating Filipino spirit that believes in the competence of the Global IT community. Linux OS on the other hand, is also a brilliant OS that offers many benefits to the users. Because of its being an open source, source code can download and modify. It offers a wide range of options available to users. Security is also other main advantage. Security experts can help identify any main security flaws in the system. Linux is also very stable, it rarely crashes. It is less vulnerable to the computer malware and it has a better backward compatibility.
LABORATORY 3
COMPARISON BETWEEN WINDOWS AND LINUX
| CATEGORY | WINDOWS | LINUX |
| cost | with price | free |
| development | distributed by microsoft only | open source development |
| manufacturer | microsoft | kernel is developed by community |
| developer | microsoft | linus torvalds and linux community |
| user | everyone | everyone |
| update method | windows update | many |
| license | proprietary | gnu general public license |
| source model | closed/ shared source | free software |
| supported platforms | powerpc: versions 1.0 - nt 4.0; dec alpha: versions 1.0 - nt 4.0; mips r4000: versions 1.0 - nt 4.0; ia-32: versions 1.0 - 8; ia-64: version xp; x86-64: versions xp - 8; arm: version rt; | all |
| os family | dos | gnu |
| marketing target | personal, business | personal, server |
| compatibility | bsd, macs, and other unix-like systems. sometimes file compatibility issues may arise | many kinds of hardware |
| multimedia apps | may have to pay for it | freely available |
| security | low | high |
LABORATORY 4
DUAL BOOTING IN VIRTUAL BOX MANAGER
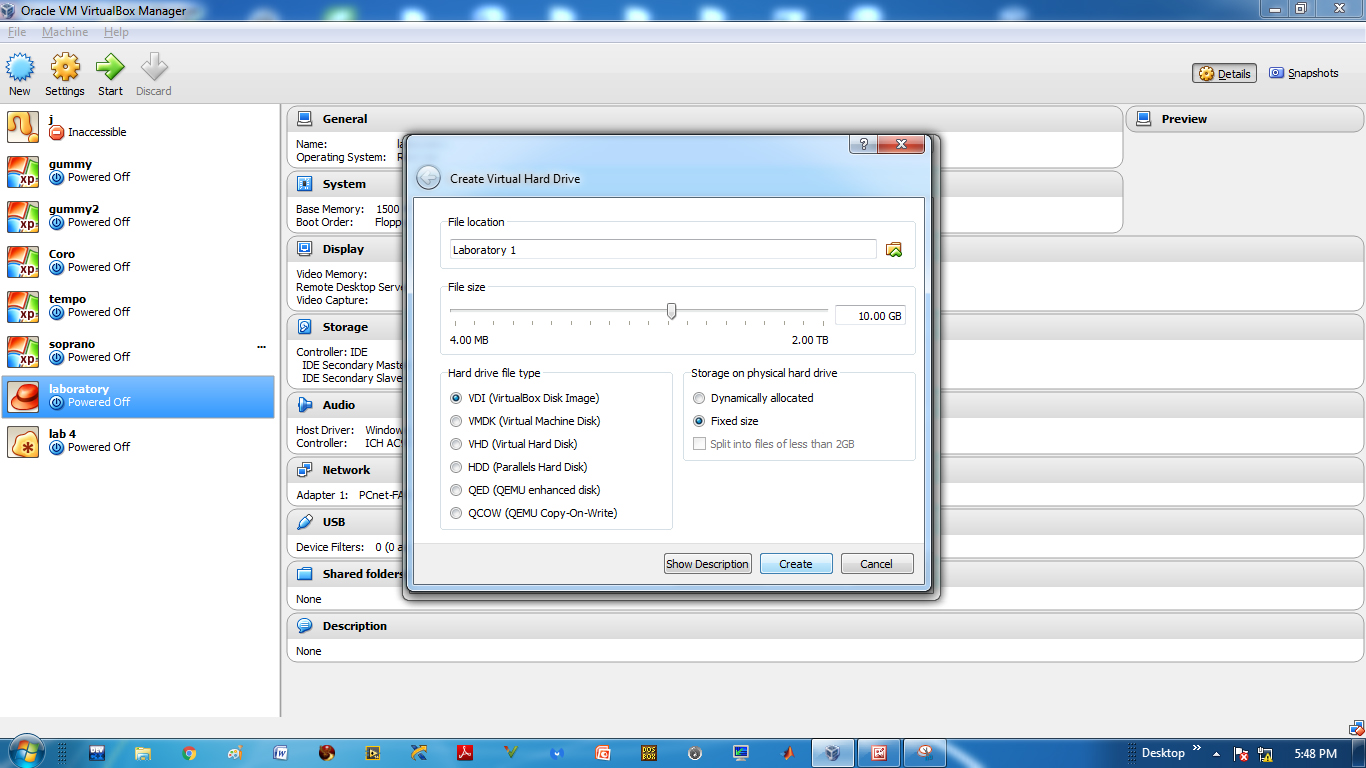
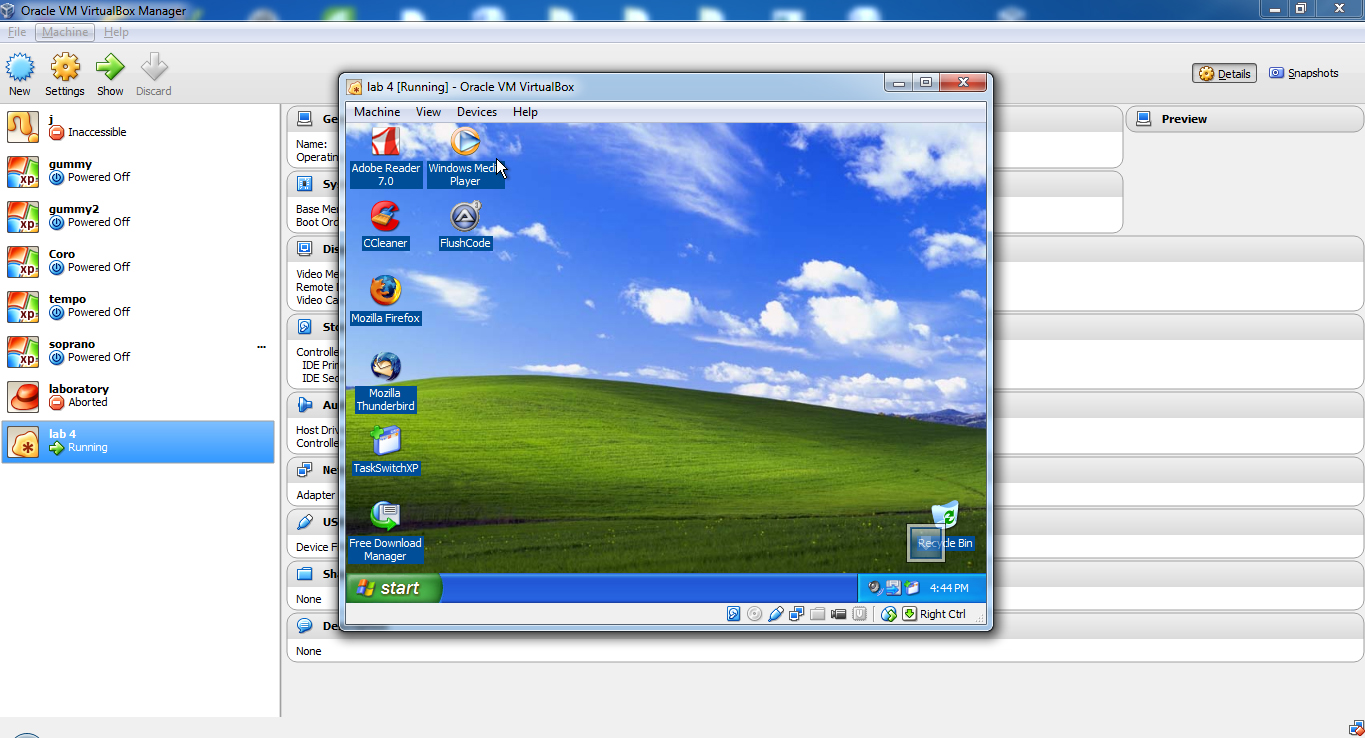
In the beginning of the experiment, there was a same process of installation for the Windows except to the assigning of the storage size. The same scenario is also applied in the actual. We observe that if we fail to assign the right value to the virtual hard disk, we can't install the second OS so the tendency is we need to erase what have done before and repeat the process again. We also observe that if we install Windows first, it is now easier for the Linux to install after Windows, but if we install Linux first, it's very confusing on the first try to install Windows. There are also Linux OS that the process of installation is hard to understand like what happened when we try the KahelOS since it is the OS that we already use from the beginning of the experiment. That's why instead of using KahelOS in this experiment, we use Bayanihan Linux. In the case of KahelOS, it can't be installed on the second partition that was created during the installation of the Windows; instead, it needs to get some space from the partition of the Windows. We also observe that Dual Boot make computer perform slower than having only one OS in the actual computer. Since this one is only a virtual machine, it doesn't affect any internal system.
Dual Booting in Virtual Machine is a great option for the users of computer savvies to learn different Operating System that they would like to learn. The Virtual Machine will going have two Operating System running in the same computer that can be use simultaneously by the users. It is safe since if it will be done in actual, it is very likely that the user will end up erasing the entire hard disk just to install another Operating System. But there is no such risk when it will be installed in virtual box. Also, the users can copy and take the virtual hard disk to other machines and attach it to virtual box there to have the same machine there as well. They don't have to install all the applications or programs at both places. After some time, when they already get comfortable with Linux, they can use Linux server version instead of Linux desktop. Linux server is very light because of no GUI. This way, the Linux will just be a terminal and they will need to use Windows for browsers and stuffs
LABORATORY 5
WEBSITE COMPARISON
I've noticed that it's not so easy to find a website that have an access to html and CSS codes because most of the website builders now use CMS or drag and drop system. Before, only the IT or programmers can have the ability to create a website page but because of the CMS technology, everything seems to be easy when it comes to website designing. Even the young kids can make their own website as long as you have a computer and an internet connection. What I've observed while building a website, at first it's a little bit hard to understand the codes if you don't have pre-knowledge or any idea about it. But as you go along, you will be used to it and eventually you can master it. Before I was relying on the manual that I've downloaded but after I understand the structure and the basics of it, I can now invent and formulate my own codes.
Websites was built through the use of the html and CSS codes. They are the building blocks of it. All of the designs and everything that we see on a certain website page was created by the power of these codes and if any changes happened to the codes, it will reflect to the main page. There are different website builders that can be used to create website designs. They can be online or offline website builders. Online website builders need the aid of internet connection while offline does not. There are just software that needs to download and install and ready to be use.